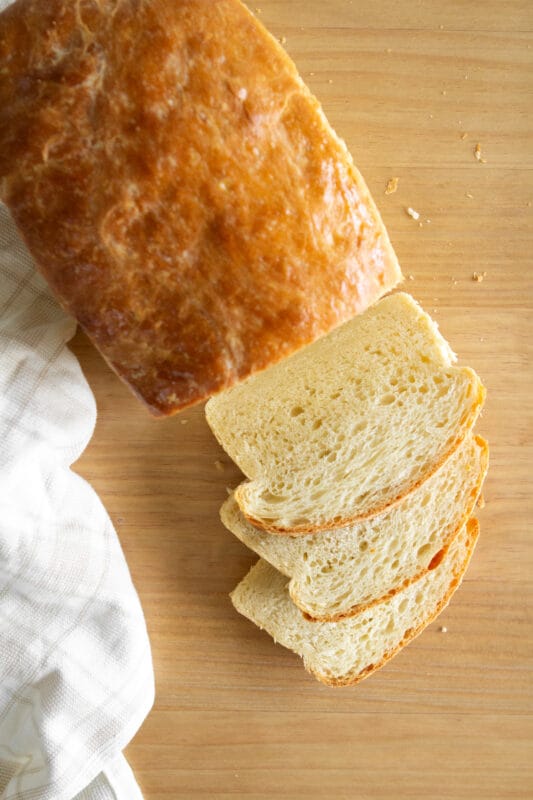
Super Soft White Sandwich Bread
Drop the sandwich bread from your grocery list and make this super soft white sandwich bread instead! It’s so easy to make and tastes better than store bought.

I always had a mental block when it came to making bread. It was too dense, it didn’t rise, it was over-proofed. After many, many, MANY attempts, I have finally become a proficient bread-maker. Let me just tell you, it’s simply not as complicated as many make it seem. I’m a firm believer in “the less complicated, the more success.” So if you struggle with over-thinking and stress when attempting to make bread, leave it right here, and follow along mindlessly!
Tips for baking this super soft white sandwich bread:
– Do NOT overproof this bread. I know life gets busy and time escapes, after all, why do you think I’d give this very important tip? I’m a mom to a toddler- need I say more? I once over-proofed my bread when it was in its final proof, it raised up super high, fell flat, and baked dense. No fun.
How to make this sandwich bread step-by-step:
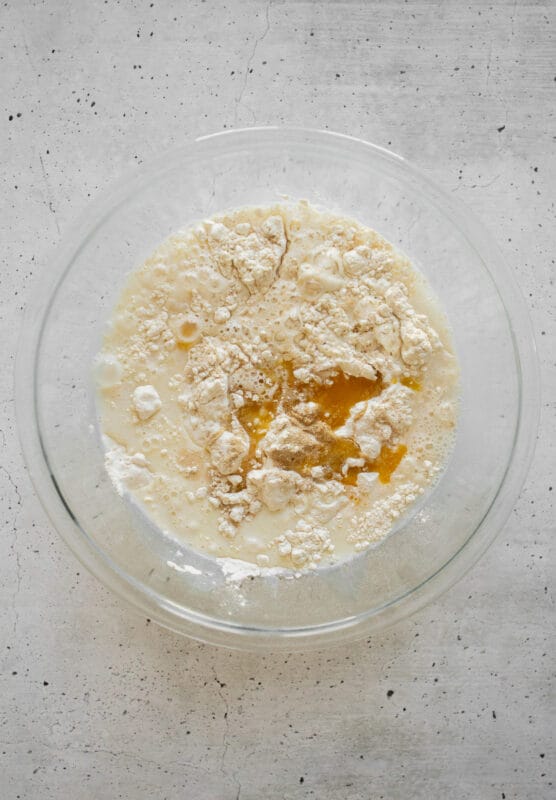
In a large bowl, whisk together the flour, salt, and yeast.

In a small separate bowl combine the water, milk, sugar (or honey or agave) and melted butter. Add to the flour yeast mixture.
Using a spatula, stir until you have a sticky, shaggy dough ball.
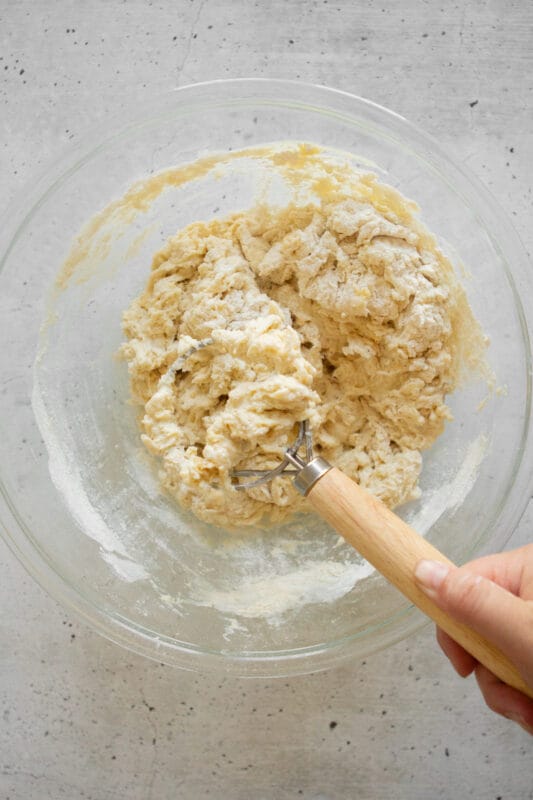
It will feel sticky upon mixing. Cover the bowl and let the dough rest for at least 30 minutes or as long as an hour.
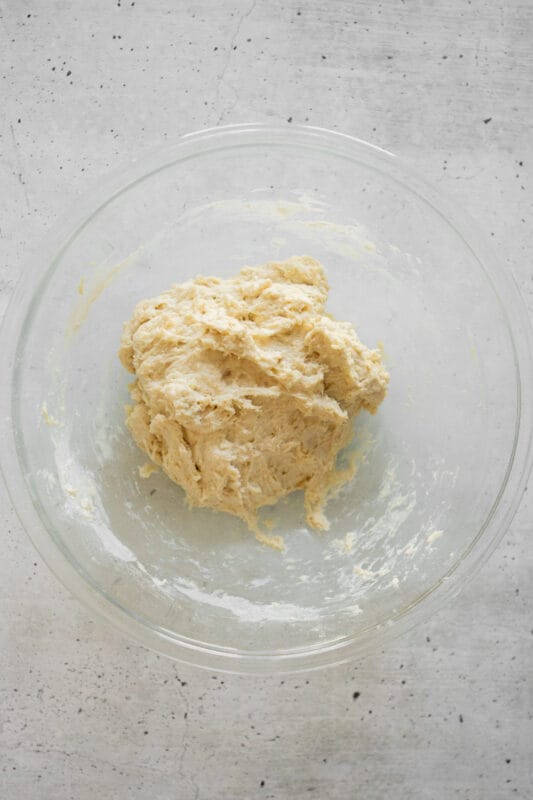
Stretch and fold, you should feel the dough transform from being sticky and shaggy to smooth.
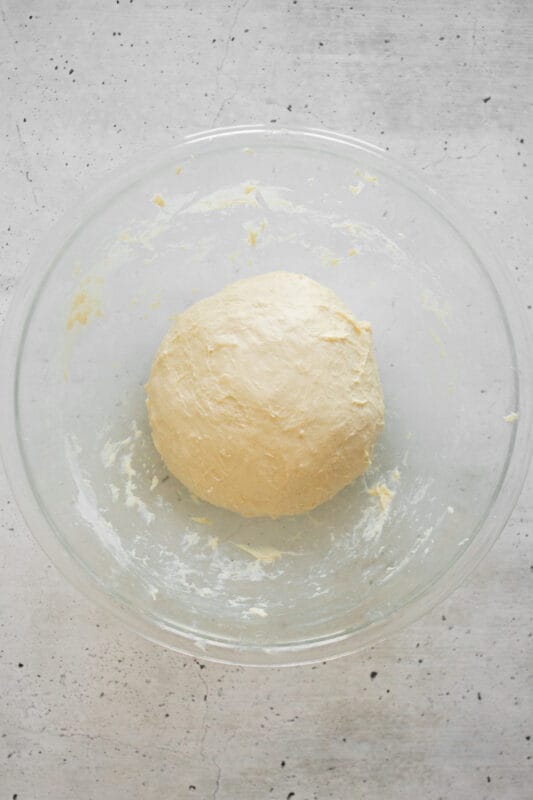
Fold vertically and then loosely roll horizontally until it looks like a loaf with the same 5 inch width as your pan.

Brush loaf with melted butter or mild-tasting oil before popping it in the oven. Bake for 45 minutes or until center temp reaches 200-210 F.

Easy White Sandwich Bread
Ingredients
Equipment
Method
- In a large bowl, whisk together the flour, salt, and yeast.
- In a small separate bowl combine the water, milk, sugar (or honey or agave) and melted butter. Add to the flour yeast mixture.
- Using a spatula, stir until you have a sticky, shaggy dough ball. It will feel sticky upon mixing. Cover the bowl and let the dough rest for at least 30 minutes or as long as an hour.
- Stretch and fold the dough by grabbing an edge and pulling it up and towards the center. Repeat this stretching and folding process, moving your hand around the edge of the dough with every set of stretches and folds. As you stretch and fold, you should feel the dough transform from being sticky and shaggy to smooth.
- Repeat stretch and folds every 30 minutes, 4 times. After the 2 hours pass, let it rise in a bowl that has been drizzled with a mild oil (like avocado) and covered with cling wrap for 2 more hours or until doubled.
- Grease a 9×5-inch loaf pan with softened butter. *Refer to notes regarding my recommendations for pans*
- Deflate the dough using your hand then turn the dough out onto a work surface- but make sure there is no flour as this will prevent the dough from sticking to the shape we’re making. Fold vertically and then loosely roll horizontally until it looks like a loaf with the same 5 inch width as your pan.
- Let the dough rise until it crowns the rim of your pan, about 1 hour. About 30 minutes in, preheat oven to 375 F.
- Brush loaf with melted butter or mild-tasting oil before popping it in the oven. Bake for 45 minutes or until center temp reaches 200-210 F.
- Let cool on wire rack for at least 2 hours. I like to start making this bread in the early afternoon and bake it by 9ish pm so I can leave it overnight to cool without it tempting me all day (LOL)
- Once cool, slice into about 14 slices and use in less than 3-4 days if stored properly in an airtight bag or a beeswax bread bag like I have listed in my equipment tab. Or freeze for up to 6 months. I personally set aside 6 slices to eat 3-4 days and freeze the rest.
Notes
- You can use all-purpose flour or bread flour. The difference between the two is bread flour gives you an open, airy crumb. While all-purpose gives you more of a tight, structured crumb. Either way, it will be delicious. However, if you do decide to use bread flour rather than all-purpose, I recommend to reduce the amount of flour by 25g (or 3 tbsp). You could also try half AP and half bread!
- If measuring in grams, different yeast brands come in different measurements. Red Star Organic is 9 grams but Fleischmann’s is less, around 7 grams. It doesn’t matter as far as the recipe goes but just something to know! If using instant yeast, there is no need to proof the yeast. However, if using active dry yeast, it will need to be proofed like I mentioned in step 1.
- Please, please, please consider using Redmond Real Salt or Celtic Sea Salt. There are greater benefits to using true mineral sea salt vs regular kosher or table salt.
Tried this recipe?
Let us know how it was!If you loved this recipe for Super Soft White Bread make sure to check out my Fluffy Hamburger Buns and my Parmesan Garlic Knots
